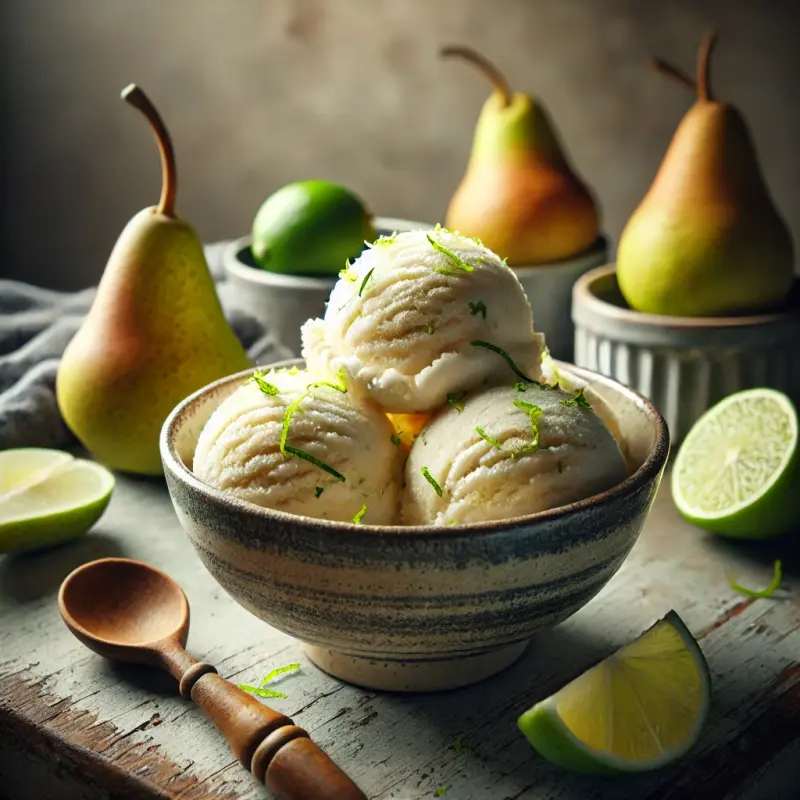
Pear Ice Cream with Lime Zest: A Refreshing Homemade Dessert

Indulge in the luscious, creamy delight of pear ice cream, accentuated with a zesty lime twist. This homemade dessert combines the natural sweetness of ripe pears with the invigorating aroma of lime, offering a sophisticated yet easy-to-make treat.
Ingredients:
-
For the Ice Cream Base:
- 4 medium-sized ripe pears
- 1 cup (250 ml) heavy cream
- 1 cup (250 ml) whole milk
- ¾ cup (150 g) granulated sugar
- 1 teaspoon vanilla extract
- Pinch of salt
-
For the Flavor Boost:
- Zest of 2 limes (finely grated)
- Juice of 1 lime
Equipment:
- Blender or food processor
- Ice cream maker (optional)
- Saucepan
- Fine mesh sieve
- Mixing bowls
- Airtight container for freezing
Instructions:
1. Prepare the Pears
- Begin by selecting fully ripe pears. The ripeness ensures their sweetness and enhances the natural flavor of the ice cream.
- Peel, core, and dice the pears into small chunks.
- Place the pear chunks in a saucepan with half of the sugar and the lime juice. Cook over medium heat until the pears soften and release their juices, about 10-12 minutes.
- Use a spoon to mash larger pieces as they cook to ensure a smooth puree later.
- Allow the mixture to cool slightly, then blend it into a smooth puree using a blender or food processor. For a finer texture, pass the puree through a fine mesh sieve. Set aside to cool completely.
2. Create the Ice Cream Base
- In a mixing bowl, whisk together the heavy cream, whole milk, the remaining sugar, vanilla extract, and a pinch of salt. Ensure the sugar fully dissolves before moving on to the next step.
- Stir in the pear puree and lime zest. Mix until the ingredients are fully incorporated and the zest is evenly distributed.
3. Chill the Mixture
- Pour the prepared mixture into a covered container and refrigerate for at least 4 hours. For best results, let it chill overnight. A well-chilled base ensures the best texture during churning.
4. Churn the Ice Cream
- If you have an ice cream maker, pour the chilled mixture into the machine and churn it according to the manufacturer’s instructions. This process usually takes 20-25 minutes, resulting in a creamy, soft texture.
- If you don’t have an ice cream maker, pour the mixture into a shallow dish and place it in the freezer. After 1 hour, remove it and stir vigorously with a fork to break up ice crystals. Repeat this process every hour for 3-4 hours until the mixture becomes creamy and smooth.
5. Freeze and Serve
- Transfer the churned ice cream to an airtight container and freeze it for an additional 2-4 hours to allow it to firm up.
- To serve, scoop the ice cream into bowls or cones and garnish with fresh lime zest, thin pear slices, or a sprig of mint for an elegant touch.
Flavor Variations:
While this recipe is delightful on its own, consider experimenting with these variations:
- Cinnamon Pear Ice Cream: Add a teaspoon of ground cinnamon to the mixture for a warm, spiced twist.
- Ginger-Lime Fusion: Grate fresh ginger into the pear puree for an extra layer of warmth and zest.
- Nutty Delight: Stir in finely chopped pistachios or toasted almonds for added crunch.
Expert Tips:
- Choosing Pears: Bartlett and Anjou pears work wonderfully in this recipe due to their juicy texture and natural sweetness.
- Balancing Sweetness: If your pears are overly sweet, reduce the sugar slightly or add an extra splash of lime juice for balance.
- Achieving Creaminess: For a richer texture, substitute half of the milk with additional heavy cream. Alternatively, use coconut cream for a dairy-free option with a tropical hint.
- Storing Ice Cream: Always store homemade ice cream in an airtight container to prevent ice crystals from forming. Place plastic wrap directly on the surface before sealing to ensure freshness.
Serving Suggestions:
This pear ice cream with lime zest is versatile and pairs well with various accompaniments:
- Classic Pairings: Serve with a drizzle of caramel or honey for an indulgent dessert.
- Elegant Presentation: Use edible flowers or a dusting of powdered sugar to elevate the visual appeal.
- Refreshing Combos: Pair with fresh fruit like strawberries, raspberries, or kiwi slices for a summery vibe.
Why You’ll Love This Recipe:
- Natural Ingredients: This recipe highlights fresh, natural flavors without relying on artificial additives.
- Customizable: Easily adjust the sweetness, add spices, or incorporate mix-ins to suit your taste.
- Seasonal Delight: Perfect for enjoying during pear season, when the fruit is at its peak.
Frequently Asked Questions (FAQs):
1. Can I use canned pears instead of fresh ones?
Yes, canned pears can be used, but fresh pears provide a more vibrant and authentic flavor. If using canned, make sure to drain them thoroughly and adjust the sugar since canned fruit often contains added syrup.
2. How long does homemade ice cream last?
Properly stored in an airtight container, this ice cream will stay fresh in the freezer for up to 2 weeks. However, it’s best enjoyed within the first few days for optimal texture and flavor.
3. Can I skip the lime zest?
While the lime zest adds a refreshing citrus note, the recipe is still delicious without it. For an alternative twist, consider adding a splash of orange or lemon zest.
This extended guide ensures a comprehensive understanding of the recipe, along with tips and variations to enhance your ice cream-making experience. Enjoy every spoonful!
Articles
Sign up for our alerts to get the most recent and engaging articles delivered straight to your email.